以下のテストは、Python 3.6 を使って行われていましたが、2.7 で動作するかもしれません。 以下のスクリプトは、Python と pip パッケージが既にインストールされていることを想定しています。
最初のインストール Octave パソコンで バージョン4.4以降を推奨します。 次に示すようにOct2pyとMNEライブラリをインストールします。 それから、MFFMatlabIO リポジトリを参照し、任意の MFF テストファイルを準備して解凍してください。
pip install oct2py
pip install mne
Pythonを起動し、次のタイプを入力します。
# add necessary librairies
from oct2py import octave
import mne
# add the path to the mffmatlabio plugin - change this line based on your local path
octave.addpath('/matlab/eeglab/plugins/mffmatlabio')
# note that you should start python in the same folder as this MFF file
EEG = octave.mff_import('NIA_333ms_HCGSN32_test01.mff')
# create MNE structures
ch_names = EEG.chanlocs['labels'].tolist();
info = mne.create_info(ch_names=ch_names[0], sfreq=EEG.srate, ch_types='eeg')
raw = mne.io.RawArray(EEG.data, info)
# plot data
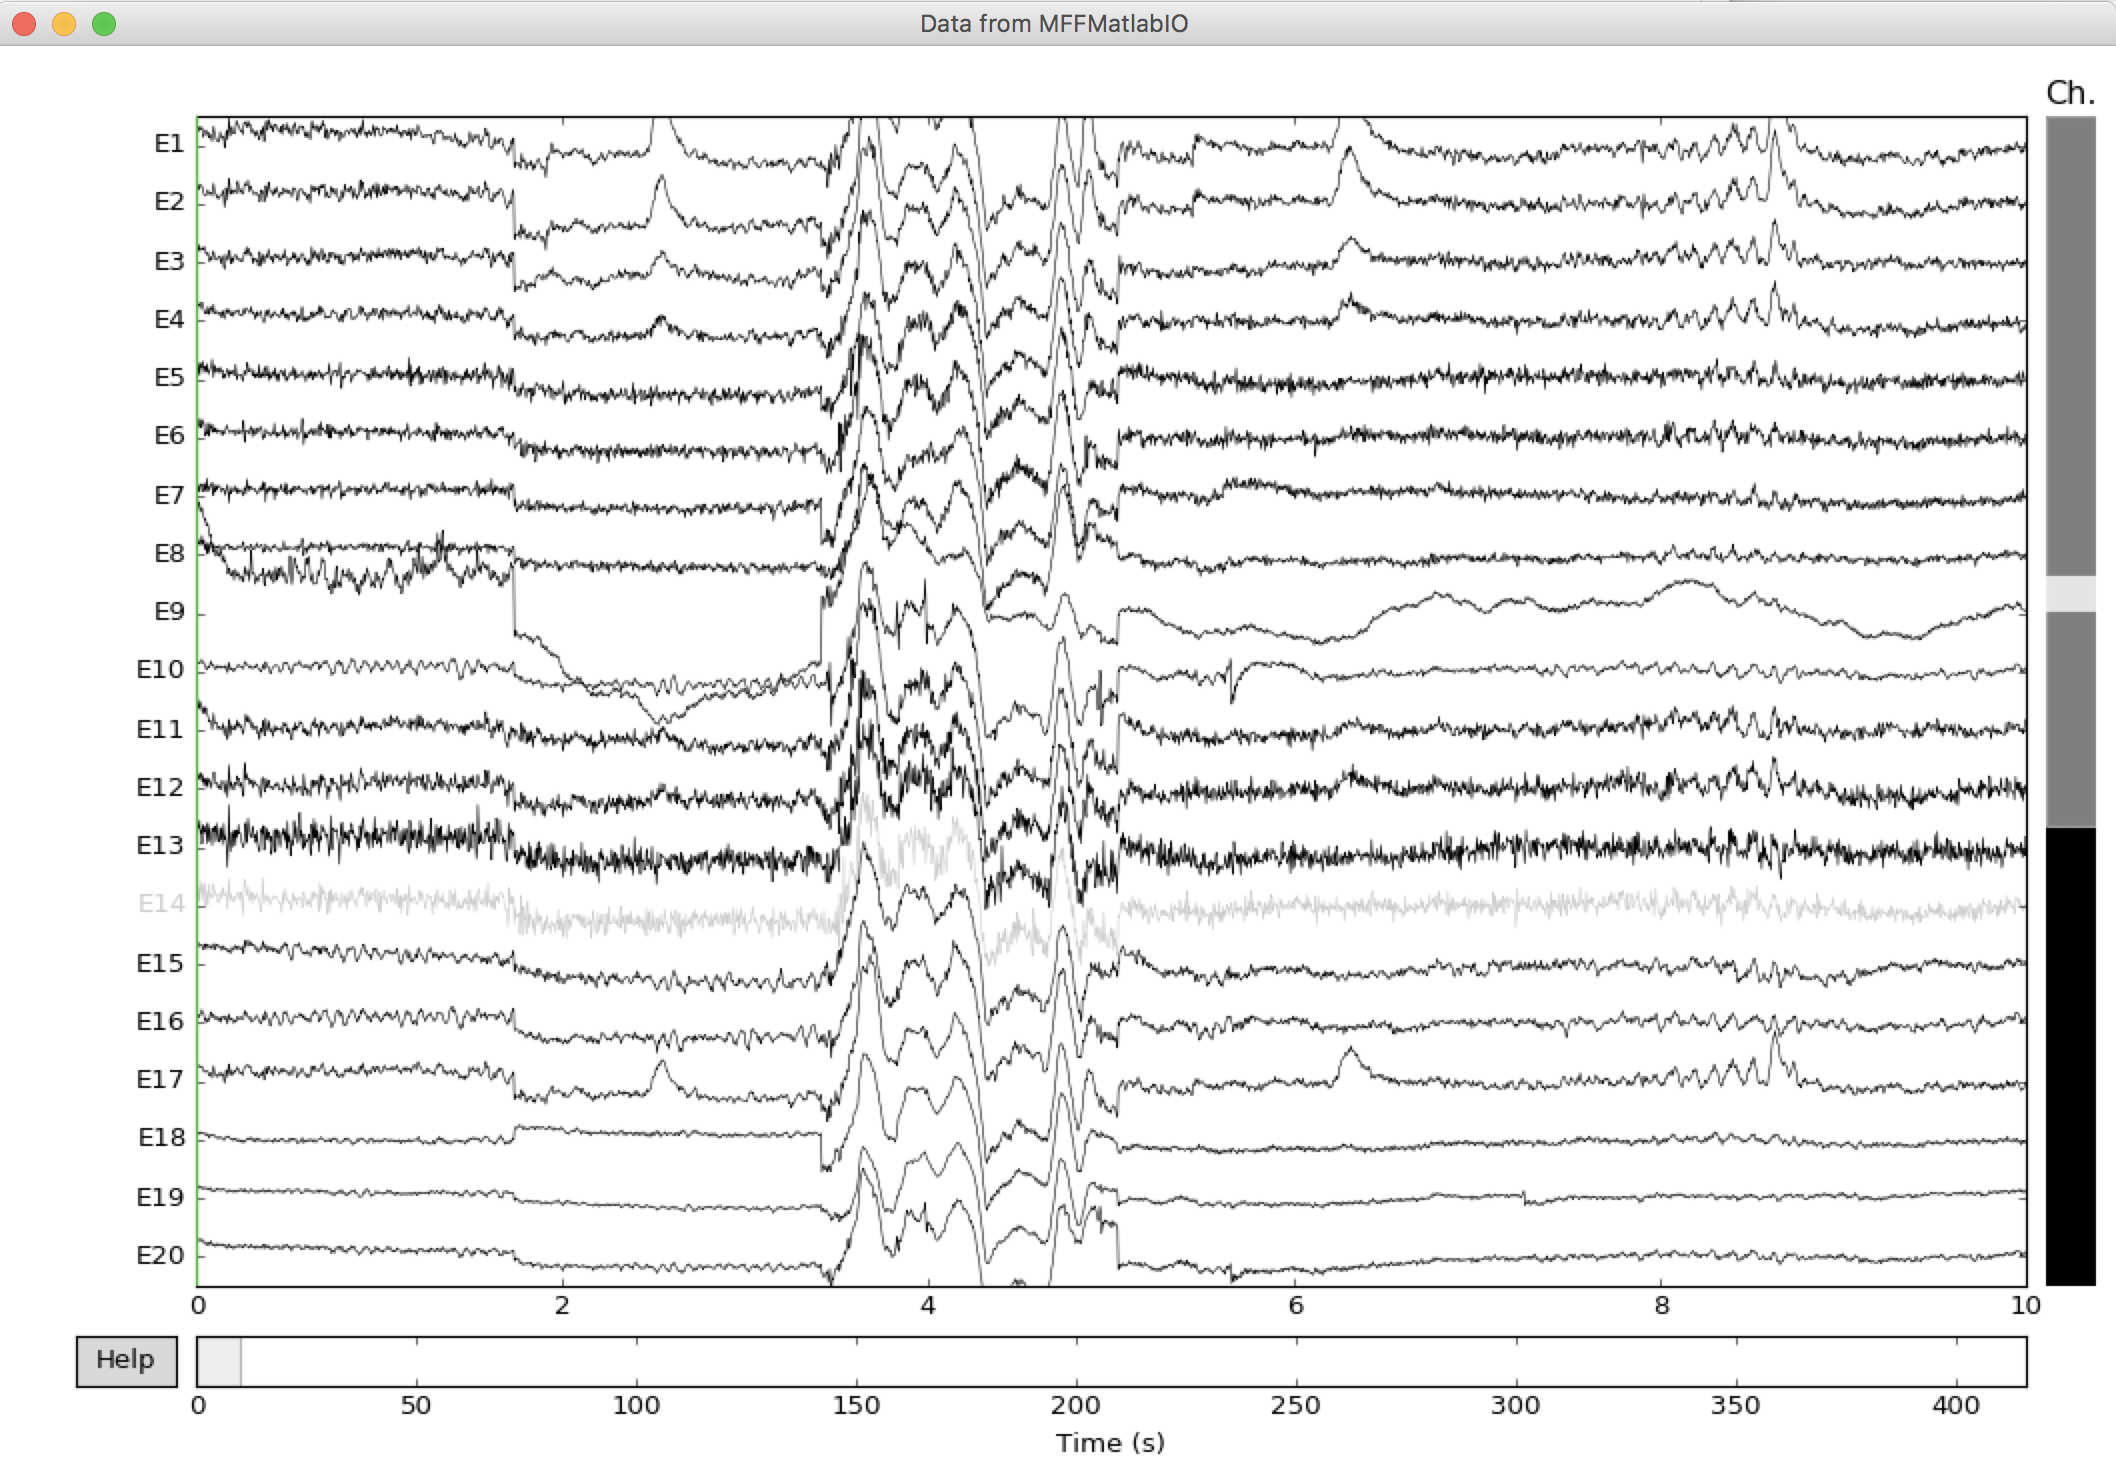
raw.plot(scalings={'eeg': 'auto'}, title='Data from MFFMatlabIO')
下のプロットがポップアップ表示されます。 からイベントのアノテーションを抽出すると、もう少し作業が必要です。